How to Edit Photos
of Your Handmade Jewelry
|
Knowing how to edit photos can mean the difference between an okay photo and a fantastic photo. As long as you have the basics down such as, focus, good lighting and a decent composition, you are well on your way to having those killer photos for your website, social media and craft show applications.
The following are my 12 tips for product photography photo editing that I most often use to inject more life into my jewelry photos:
12 Tips on How to Edit Photos of Your Jewelry
1) Editing Programs: I use Photoshop Elements to size my images, but you can also use free programs such as Gimpshop. Here is a quick tutorial online for changing your photo resolution using Gimpshop.
For creating ambiance with overlays, sharpening, brightening as well as other tweaks I love PhotoScape. I recommend that you download their program from Downloads.cnet just to make sure that you do not get any unwanted add-ons with the software.
I also recommend Pixlr-o-matic for a variety of different overlays and effects. You will need Google Chrome to use their app. Then just upload your images and edit them online as you need.
2) Cropping: The first thing I like to do is a rough crop of how I want my photo composition to look. This is a first crop where I take off some of the unwanted areas surrounding the focal point of my image. Later I will do an exact crop to the size and width that I need depending on where I will be loading my photo. More on that later.
3) Resolution: Probably the most important step in learning how to edit photos is adjusting the resolution. Here I change the resolution to 300 DPI as well as adjust my pixel height and width in Photoshop, but again, you can use a comparable free program such as Gimpshop.
At this point I like to keep my original photo at about 2400 pixels as my larger dimension so that I can set aside a photo that is high resolution for promotional purposes or for show applications. Later I will talk about resizing photos for different purposes.
4) Photo Rotation: Now I open my photo in PhotoScape and this is where I decide whether I want to change the angle of the item in my photo. I really like PhotoScape because you can just move a little arrow to rotate your image and decide what position you like best. You do not have to enter a figure to rotate your image five degrees to the left or right, you just move the arrow until you like what you see... easy!
5) Dimensions: Here is where I do more cropping. Now I am considering what in specific I need the image for. If it is for Etsy, I don't care about the dimensions because Etsy will allow you to adjust that within their sight. For another marketplace site or my own website, I may require a square image depending on how it shows best on the site.
Website catalog image thumbnails might look best square, while my homepage image may need to be rectangular. Here you can play around with various sizes as needed by choosing crop and moving the crop area around until you have the right parts of your photo included in your crop area. Again, PhotoScape makes it super easy to see your dimension figures as you are cropping and then you can select the whole crop area and move it to where you want.
6) Sharpness: Next I sharpen my image. PhotoScape gives you the option to select varying degrees of sharpness 1, 2, 3 etc. I usually use level two or three maximum. If I need any higher than a three, it means that I did not get a sharp enough focus with my camera. Adding too much sharpness in the editing at this point will only make the photo look harsh, so I don't recommend it.
There is a whole lot you can fix when you learn how to edit photos, however there is only so much you can do to repair an image that is too out of focus.
7) Brightness: If the photo does not have enough light, you can add brightness as well. PhotoScape has the option of adding brightness with three levels to choose from, low, medium and high. I usually add medium brightness and sometimes I will repeat that step again, adding medium brightness a second time.
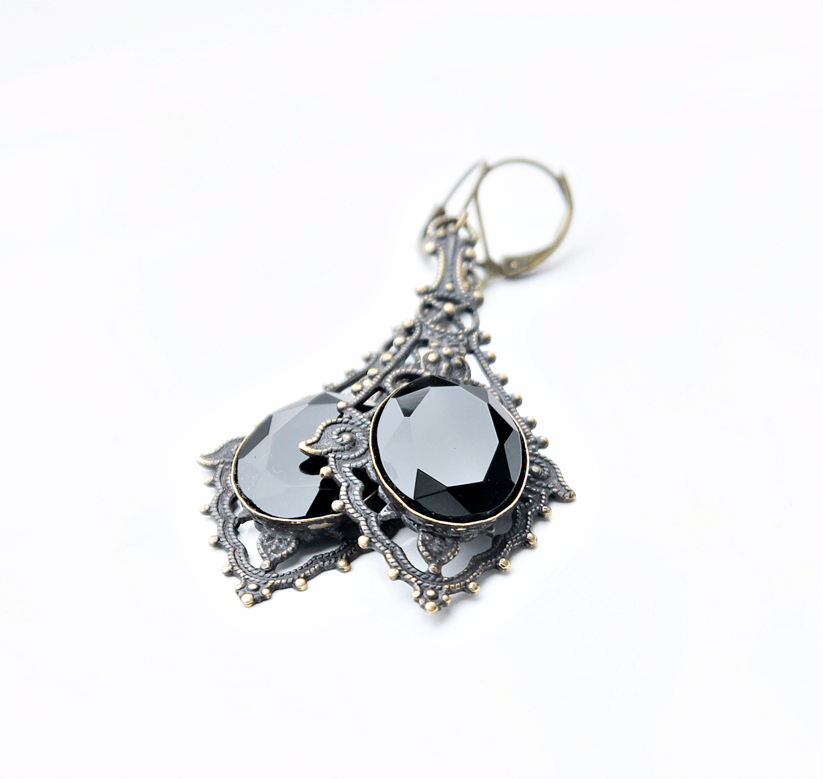
8) Contrast Enhancement: Now that the image is nice and bright, you can add contrast to your photo. This will counteract any loss of depth and correct any washed out effect that may have occurred from brightening the image. Select low, medium or high contrast depending on the results you see. This will really add definition to your photos.
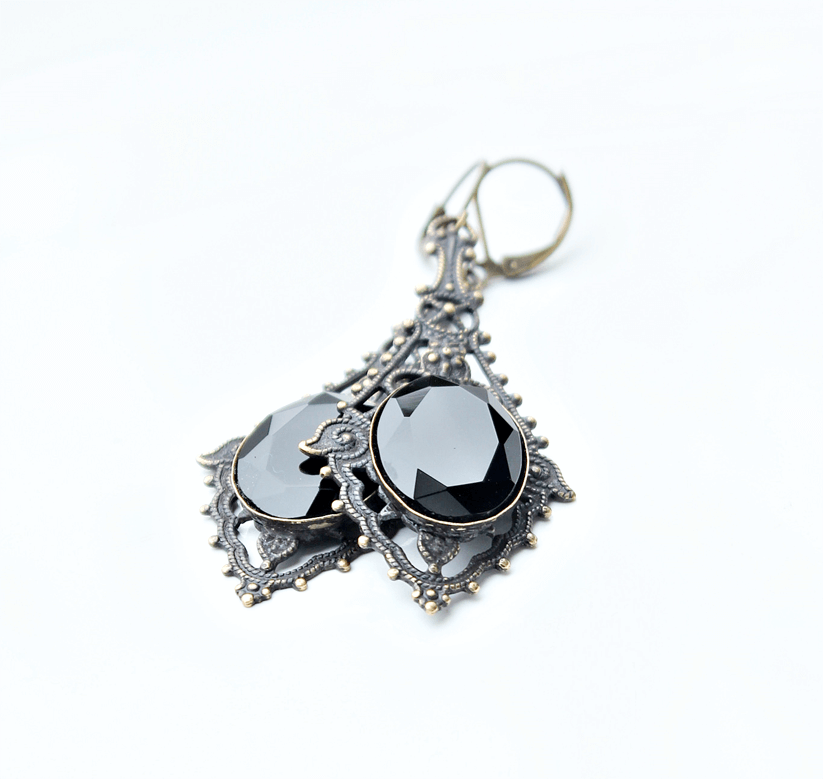
9) White Balance: The white balance option will take away that blue cast that you may see in your photos when you photograph your jewelry on a white background.
 |
 |
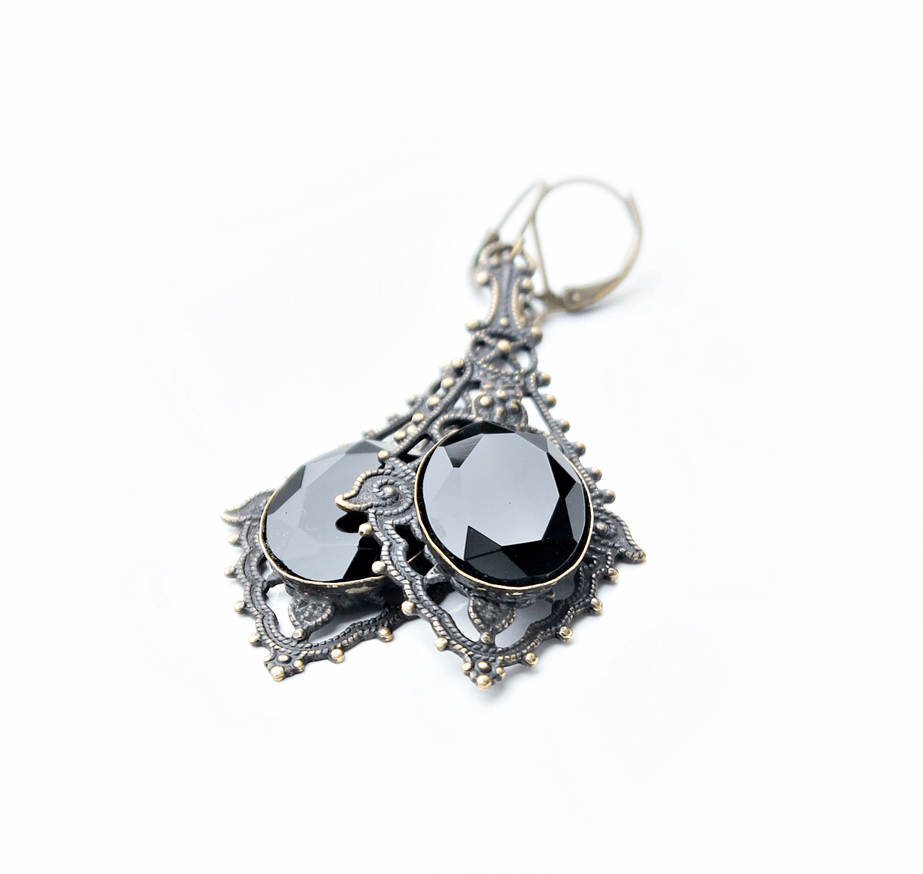
10) Feathered Edges: If you like a soft fade toward the edges of your images you can use the "region out of Focus" option and make your photos softly fade to white. This is a great effect when you want to lay multiple images on a catalogue sheet and you don't want any hard edges on your images. There will still be a straight edge on your images, however because they are white, they will not show when you lay the images over a white background.
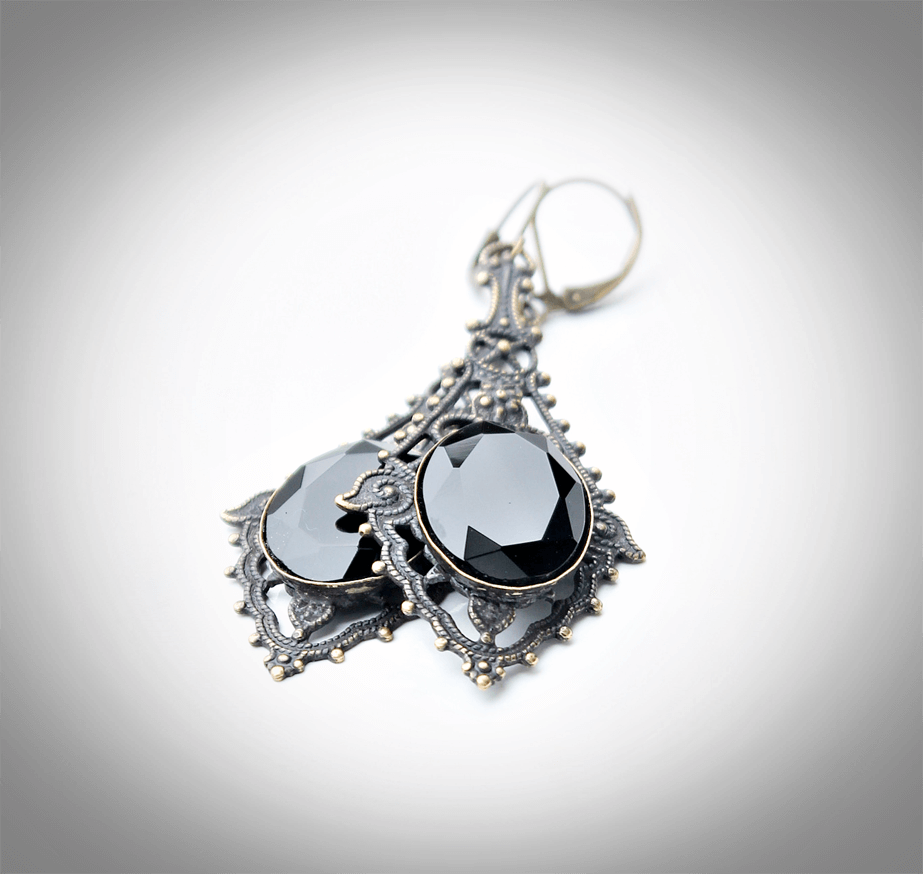
11) Vignetting: This is one of my favorite features in PhotoScape as it gives that professional touch to your photographs. You will see this technique is used in many advertising photos. It is especially used in the still images that are advertised in television commercials.
The vignette feature will give you a subtle and gradual darkening toward the outer edges of your photos. It keeps the eye focused on the product by framing the image with a subtle shading effect.
Please note, this site contains affiliate links for products and services, however, should you decide these products are right for you... you will not pay more in using my referral links. Also know that I will not recommend a product that I don’t stand by 100 percent.
12) Compression: Finally we come to the last of the tips on how to edit photos. You will want to keep your image quality high, but at times, you may need to load your image to a site that will have a limit to the number of megabytes per image. You can reduce the size of your images, without changing the quality at sites such as tinypng.com.
If you haven't already seen the video tutorial at the top of this page, I also cover an extra tip on removing unwanted specs, fibers, globs and such from your images. If you find the video helpful please like it and leave me a comment : )
I hope that these tips on how to edit photos will help you to make your jewelry photos everything that you want them to be!
Return from How to Edit Photos to How to Sell Jewelry Online.
New! Comments
Have your say about what you just read! Leave me a comment in the box below.