How to Make a Loop When Beading With Crystals
Beading with crystals can be a delicate task especially when turning a loop. Some crystals such as the Swarovski brand can be more fragile and crack easily with too much pressure or from a hard to turn pin. Turning a loop on small 4mm crystal requires just a little extra care.
1) Feed your eye pin through the crystal.
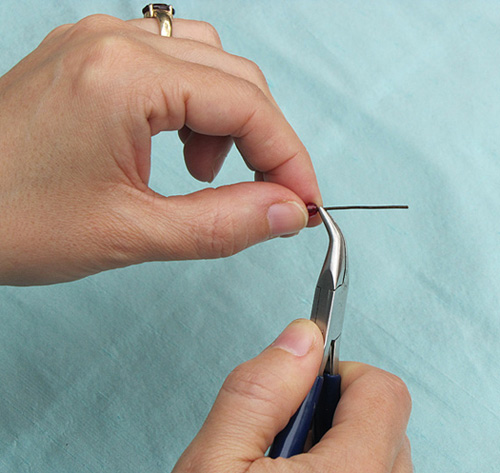
2) Holding it gently but firmly, carefully bend the pin to a 90 degree angle. Use small motions when you feel there may be too much pressure on the bead.
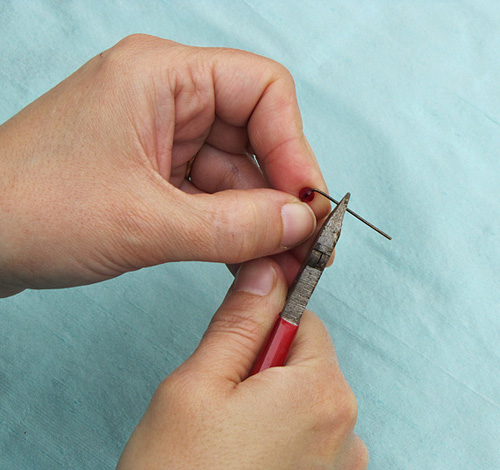
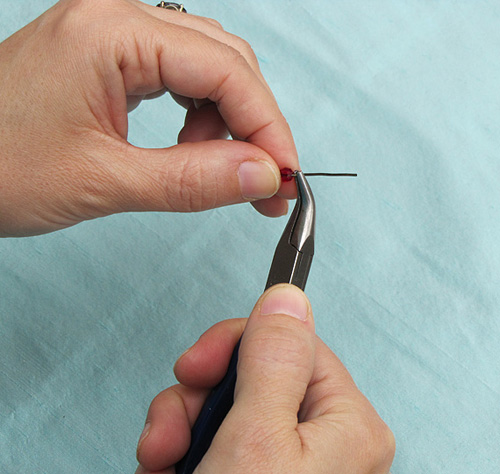
3) With side cutters trim the pin down to about 5/16"

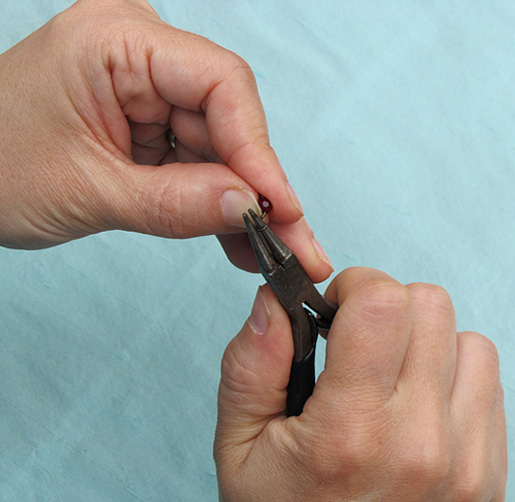
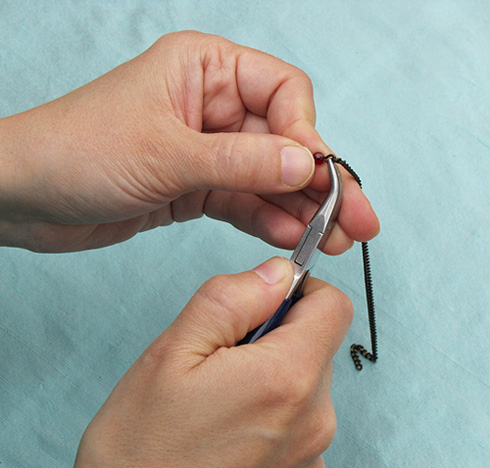
4) Position your thumb over the end of the bead, close to the bend on the eye pin. With your round nose pliers at the end of the pin, slowly start to turn the pin back toward the bead.
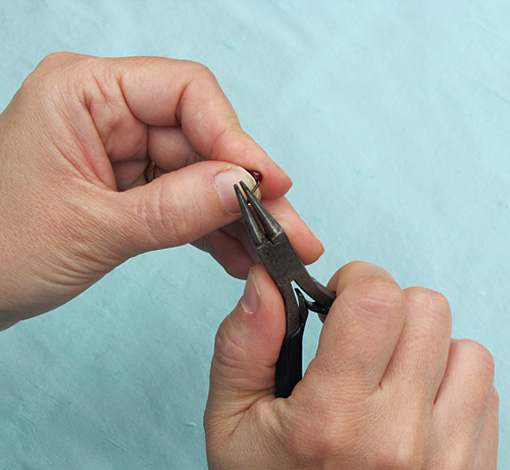
5) Making sure to keep the eye pin aligned in the same direction make minute turns while protecting the crystal with your thumb.
6) Keep making small turns.
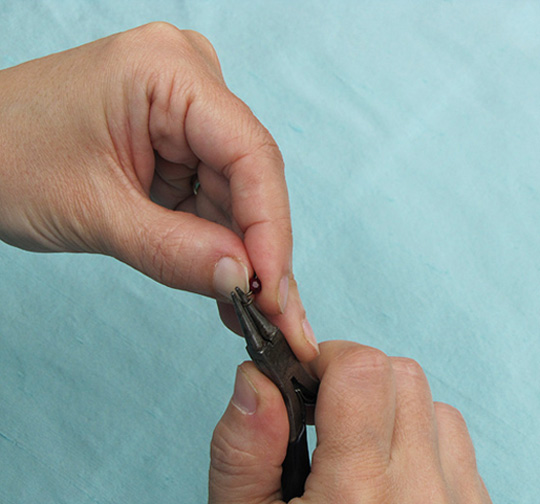
7) Stop and go releasing pressure to decrease stress on the crystal. Keep the bead protected under your thumb as you bring the turn to a close.
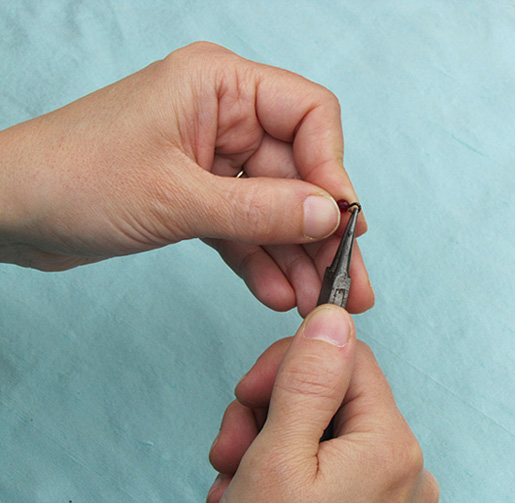
8) When attaching a finding or chain to your crystal always open the loop towards you. Never open your loops back in the direction in which you formed them. This will only distort that nice rounded shape, make it difficult to close properly and cause more stress on the crystal.
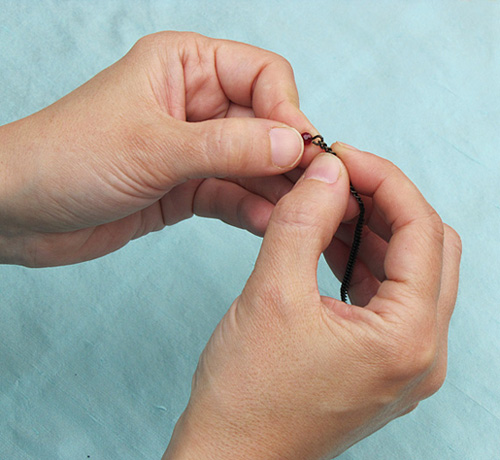
9) Attach your chain or finding through the opened loop.
10) Close the loop in the same manner (away from you) and your done!
Once you get used to beading with crystals with a firm eye pin or head pin the rest will be easy. If you find crystals too delicate, start with a larger crystal and work your way down to a 4mm size once you feel comfortable.
New! Comments
Have your say about what you just read! Leave me a comment in the box below.